I am in the process of creating a new Genesis based website for a new-to-me client and I choose to use the Showcase Pro child theme to start my customizations on. One of the built-in features of that theme is an area to add the Genesis eNews Extended plugin that you can configure to use with a lot of popular email marketing providers. As noted my client is new to me, but she has a current website and is already established with using Constant Contact. The first thing I did was google “Genesis eNews Extended constant contact” to see if anyone had some easy to follow instructions so I didn’t have to re-invent the wheel.
That is where I came across Sallie Goetsch’s post on her website with a walk-through where she had success, but not 100% integration (she couldn’t figure out how to get the First Name and Last Name passed through). Now her post is from October 2014 so I am assuming Constant Contact has made some changes to their forms since then, but between her advice, my experience and some trial error I have figured out how to integrate Genesis eNews Extended and Constant Contact so you can add a new subscriber to specific list and capture their email address, first name, last name and then direct them to thank you page you designate.
Step 1: Create a new signup form at Constant Contact
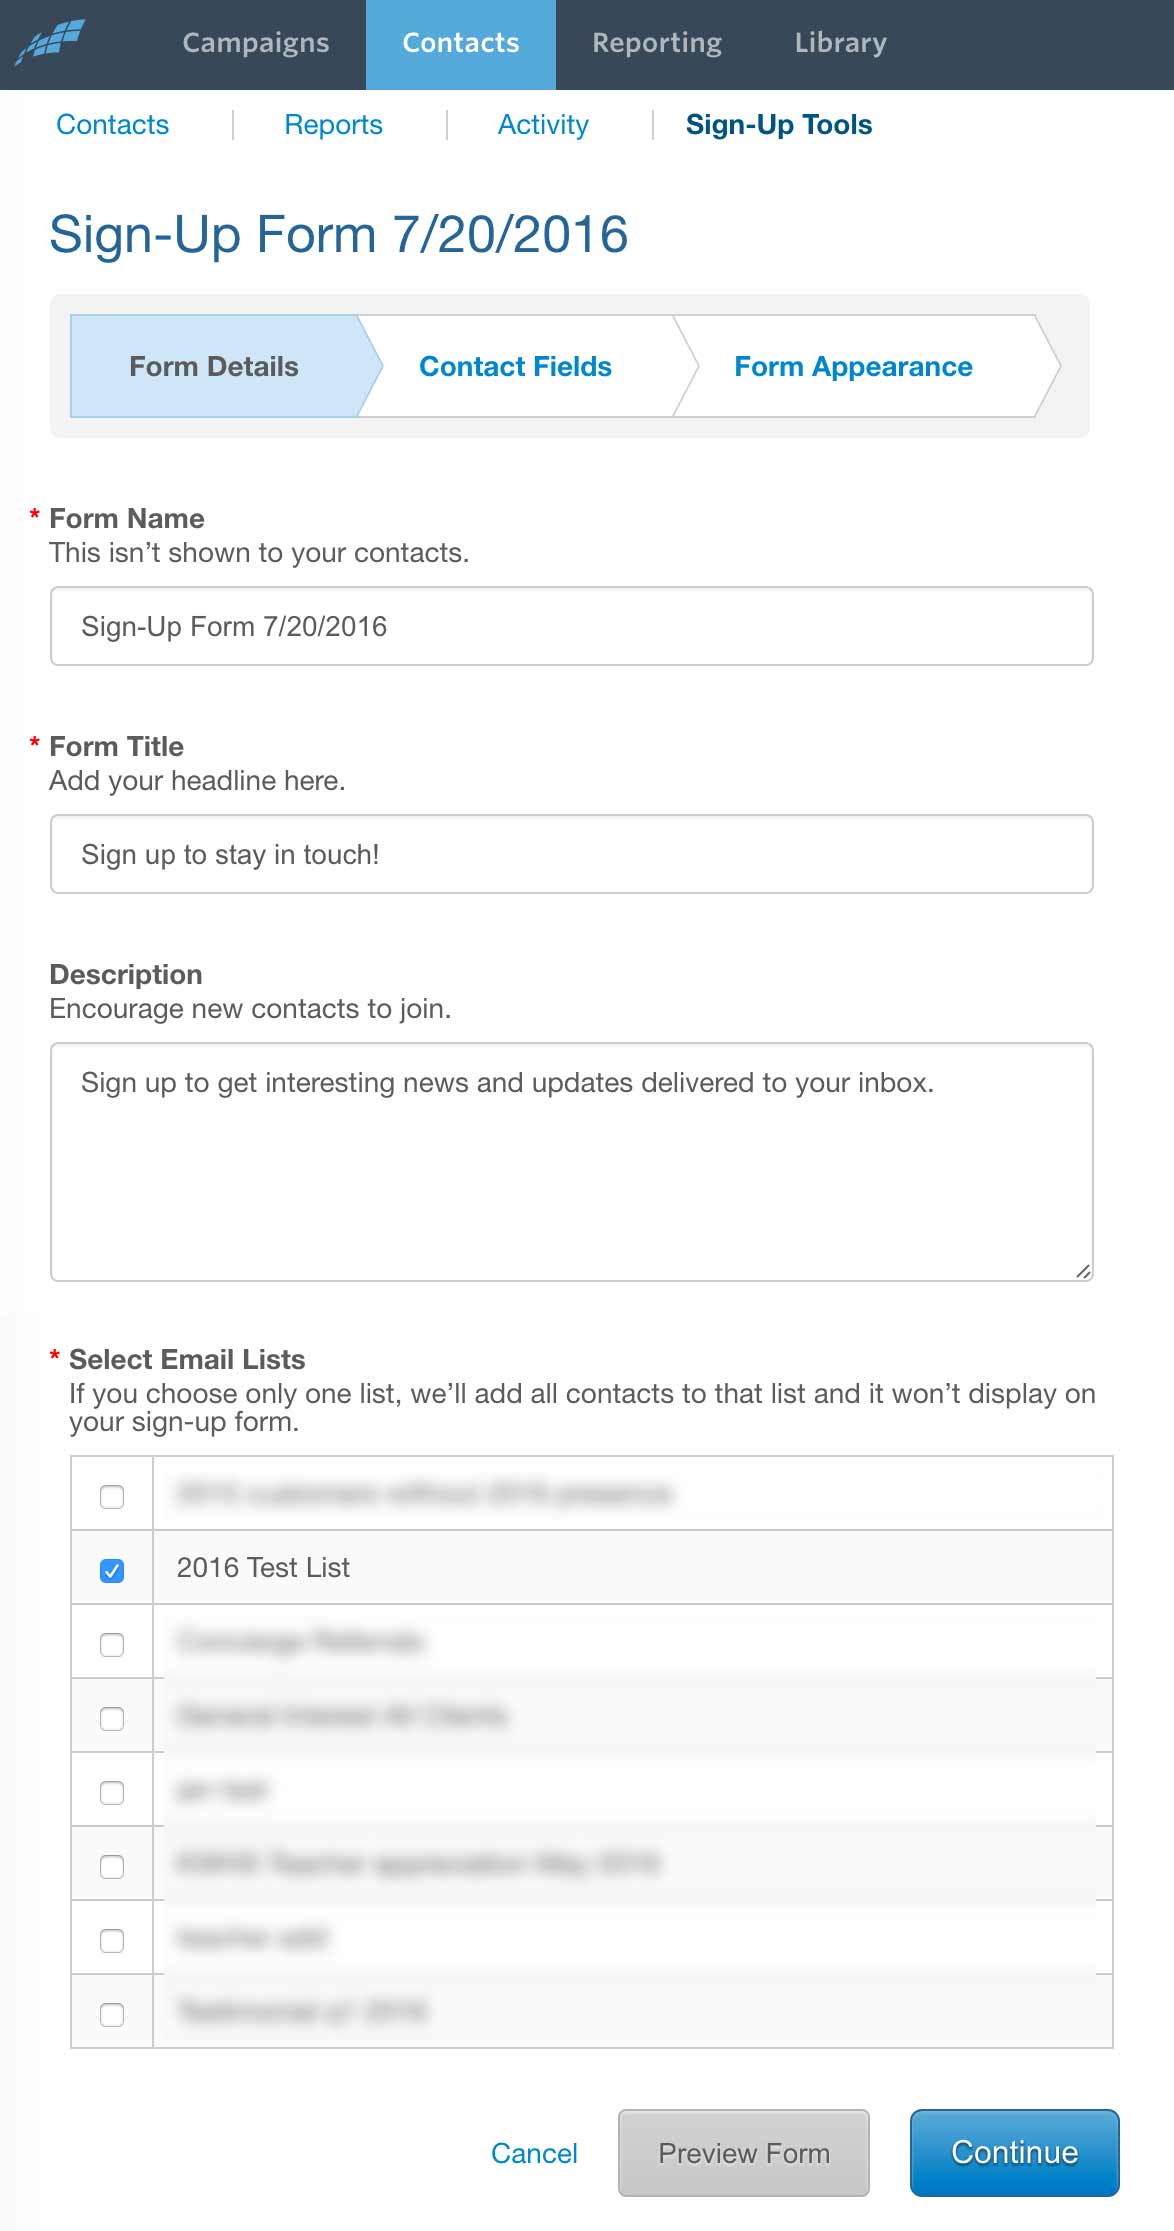
Login to your account at Constant Contact and then go to Contacts > Sign-Up Tools and click on the large golden button on the upper right that says “Create a Sign-Up Form”. We are just creating this form to get information from CC to use in our plugin so we don’t need to worry about the Form Name, Form Title or Description fields (you can leave them to whatever they default to). You do, however, need to select the box for the list(s) you want people added to when they signup from the eNews Extended widget we are creating. For my example I am using the list “2016 Test List”. Press Continue.
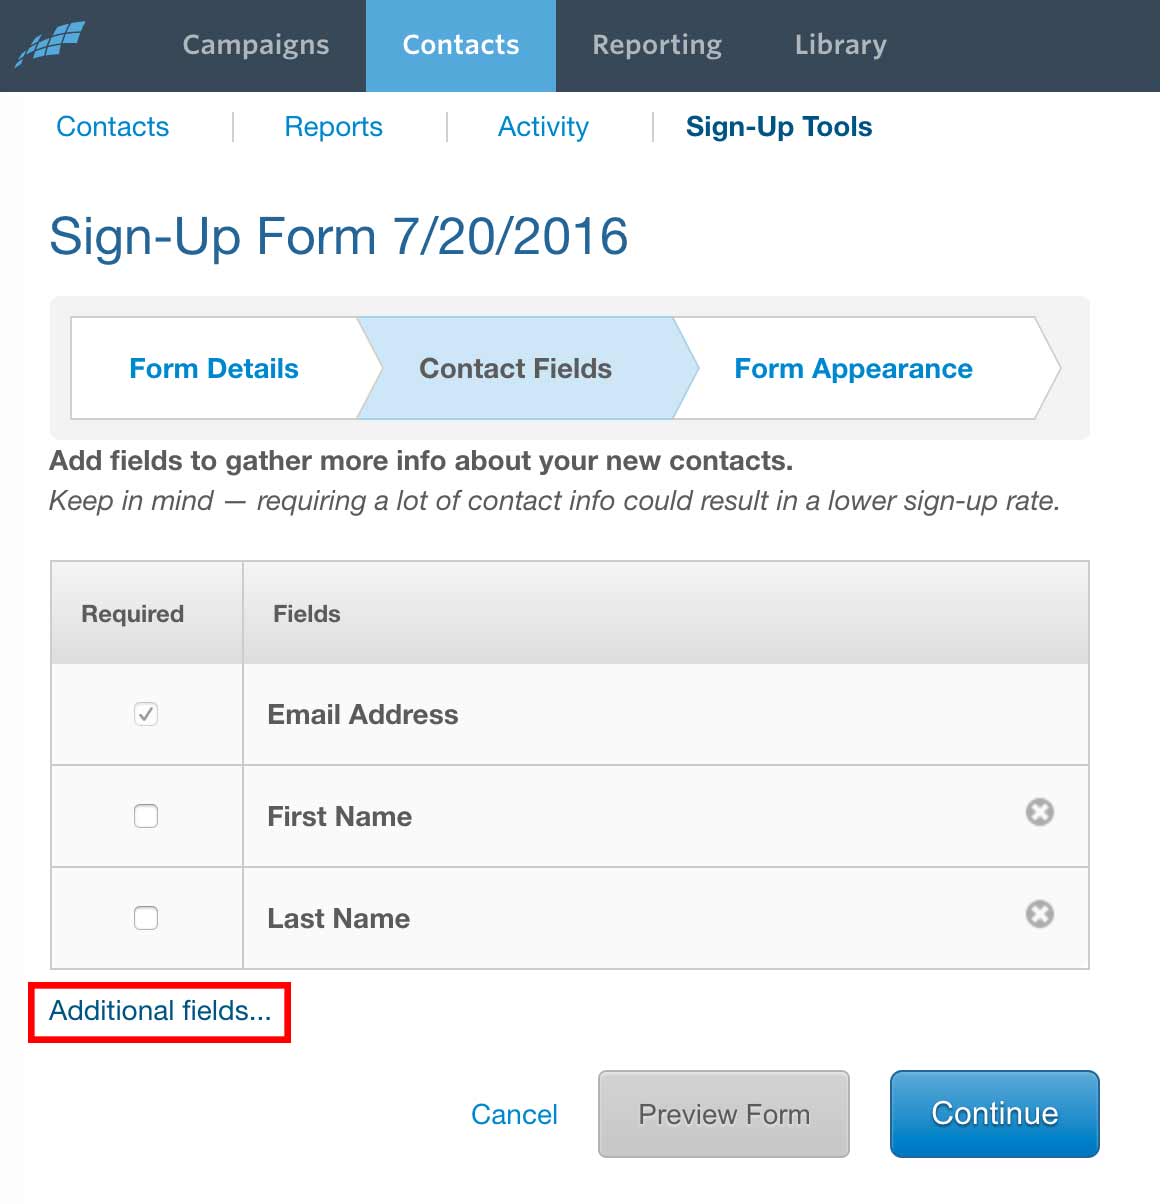
On the next screen you can choose other fields you want to collection information from. Here is where we indicate First Name and Last Name by click on the “Additional Fields” link on the bottom left.
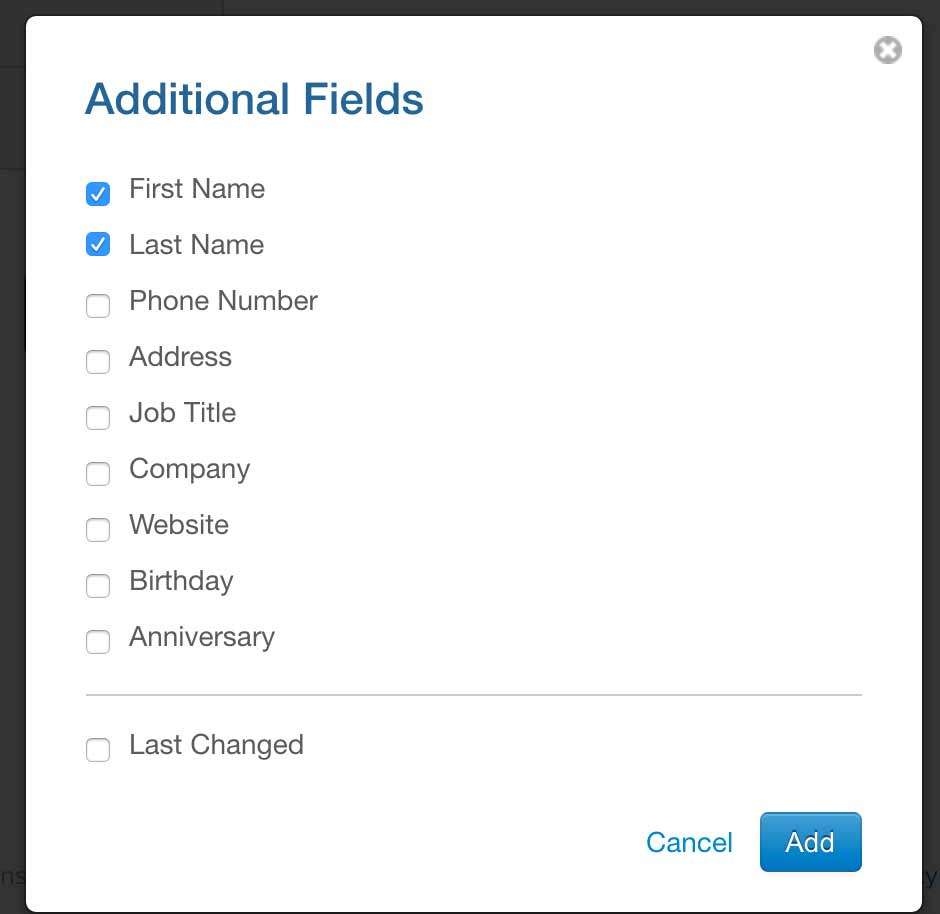
From the popup you can select First Name and Last Name and press “Add”.
After you have added the First Name and Last Name fields and are back on the Contact Fields step press the Continue button.
You can skip the Form Appearance step and just press “Finish”.
Step 2: Pull code from signup form that was just created
After you create the new signup form in Step 1, you will be directed back the initial Sign-Up Tools page. Scroll down to the “Additional Web Sign-Up Forms” section and you should see our new form we just made. You will now click the “Actions” button and from the menu that opens please click “Embed Code”.

You are now shown a popup with the code you would theoretically copy and past the whole bit into a web page. For our purposes we will just be finding specific information that we need to add to the Genesis eNews Extended widget.
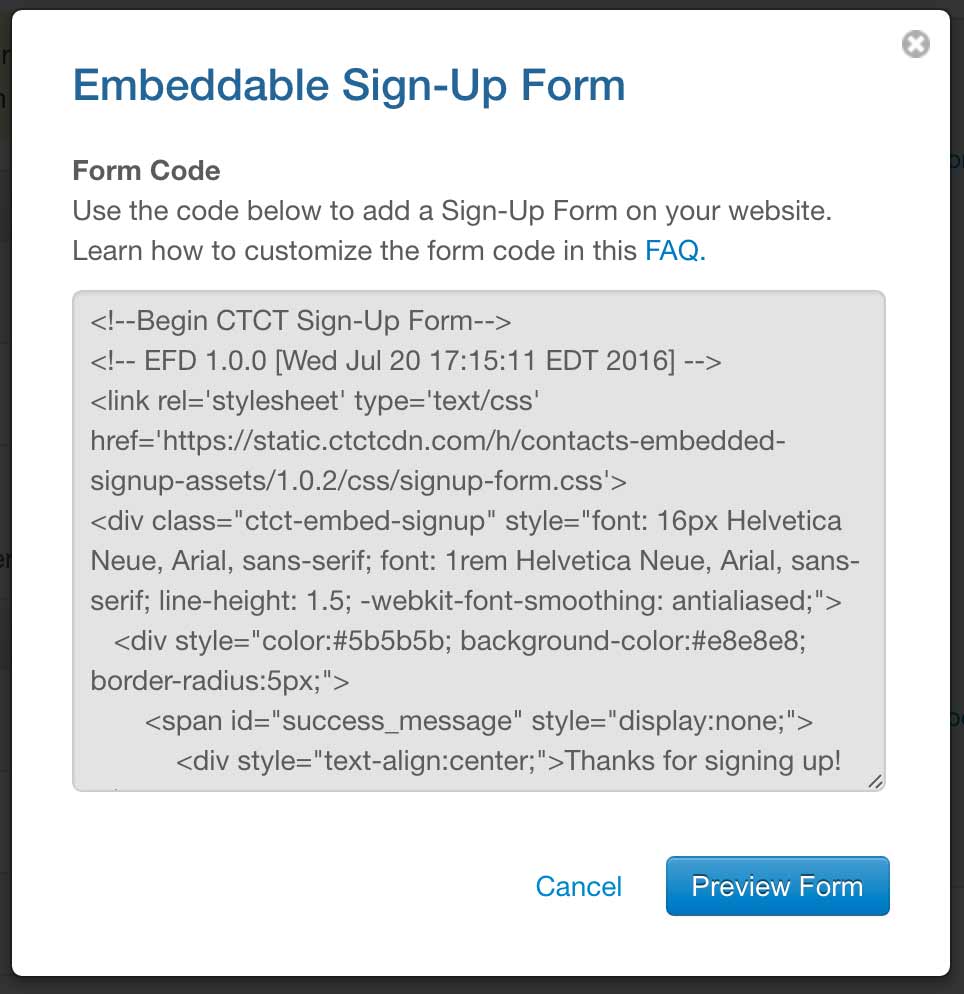
Below I will highlight what bits of code we need to copy to our widget. You may want to copy the code from the popup and open in it on your computer in a plain text editor like NotePad (PC) or TextEdit (Mac) so it will be easier to copy certain sections of code (the popup will automatically select all of the text every time you click into it).
<!--Begin CTCT Sign-Up Form-->
<!-- EFD 1.0.0 [Wed Jul 20 17:15:11 EDT 2016] -->
<link rel='stylesheet' type='text/css' href='http://static.ctctcdn.com/h/contacts-embedded-signup-assets/1.0.2/css/signup-form.css'>
<div class="ctct-embed-signup" style="font: 16px Helvetica Neue, Arial, sans-serif; font: 1rem Helvetica Neue, Arial, sans-serif; line-height: 1.5; -webkit-font-smoothing: antialiased;">
   <div style="color:#5b5b5b; background-color:#e8e8e8; border-radius:5px;">
       <span id="success_message" style="display:none;">
           <div style="text-align:center;">Thanks for signing up!</div>
       </span>
       <form data-id="embedded_signup:form" class="ctct-custom-form Form" name="embedded_signup" method="POST" action="https://visitor2.constantcontact.com/api/signup">
           <h2 style="margin:0;">Sign up to stay in touch!</h2>
           <p>Sign up to get interesting news and updates delivered to your inbox.</p>
           <!-- The following code must be included to ensure your sign-up form works properly. -->
           <input data-id="ca:input" type="hidden" name="ca" value="62cb7e12-ef75-4e40-bda3-e70564c4c4ff">
           <input data-id="list:input" type="hidden" name="list" value="1253394236">
           <input data-id="source:input" type="hidden" name="source" value="EFD">
           <input data-id="required:input" type="hidden" name="required" value="list,email">
           <input data-id="url:input" type="hidden" name="url" value="">
           <p data-id="Email Address:p" ><label data-id="Email Address:label" data-name="email" class="ctct-form-required">Email Address</label> <input data-id="Email Address:input" type="text" name="email" value="" maxlength="80"></p>
           <p data-id="First Name:p" ><label data-id="First Name:label" data-name="first_name">First Name</label> <input data-id="First Name:input" type="text" name="first_name" value="" maxlength="50"></p>
           <p data-id="Last Name:p" ><label data-id="Last Name:label" data-name="last_name">Last Name</label> <input data-id="Last Name:input" type="text" name="last_name" value="" maxlength="50"></p>
           <button type="submit" class="Button ctct-button Button--block Button-secondary" data-enabled="enabled">Sign Up</button>
       	<div><p class="ctct-form-footer">By submitting this form, you are granting: permission to email you. You may unsubscribe via the link found at the bottom of every email.  (See our <a href="http://www.constantcontact.com/legal/privacy-statement" target="_blank">Email Privacy Policy</a> for details.) Emails are serviced by Constant Contact.</p></div>
       </form>
   </div>
</div>
<script type='text/javascript'>
   var localizedErrMap = {};
   localizedErrMap['required'] = 		'This field is required.';
   localizedErrMap['ca'] = 			'An unexpected error occurred while attempting to send email.';
   localizedErrMap['email'] = 			'Please enter your email address in name@email.com format.';
   localizedErrMap['birthday'] = 		'Please enter birthday in MM/DD format.';
   localizedErrMap['anniversary'] = 	'Please enter anniversary in MM/DD/YYYY format.';
   localizedErrMap['custom_date'] = 	'Please enter this date in MM/DD/YYYY format.';
   localizedErrMap['list'] = 			'Please select at least one email list.';
   localizedErrMap['generic'] = 		'This field is invalid.';
   localizedErrMap['shared'] = 		'Sorry, we could not complete your sign-up. Please contact us to resolve this.';
   localizedErrMap['state_mismatch'] = 'Mismatched State/Province and Country.';
	localizedErrMap['state_province'] = 'Select a state/province';
   localizedErrMap['selectcountry'] = 	'Select a country';
   var postURL = 'https://visitor2.constantcontact.com/api/signup';
</script>
<script type='text/javascript' src='https://static.ctctcdn.com/h/contacts-embedded-signup-assets/1.0.2/js/signup-form.js'></script>
<!--End CTCT Sign-Up Form-->
Step 3: Setup the Widget in WordPress
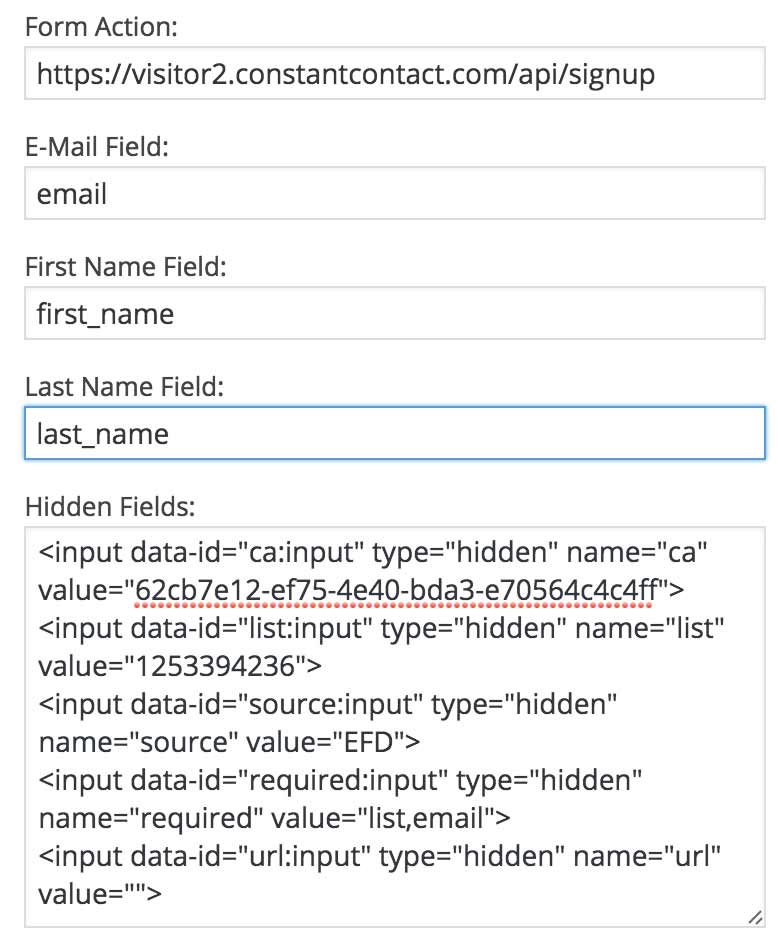
Now that we have all the codes we need from Constant Contact we need to create the widget in our WordPress site and add the code where needed. After creating the new widget you will need to put the following information into the corresponding areas.
On Line 9 of my example code above you will see a form tag. We want to pull the “action” of that tag and add it to the “Form Action” of our widget (without the quote marks).
action="https://visitor2.constantcontact.com/api/signup"
We now need to copy all the <inputs> that are hidden so that your data will be properly parsed when sent to Constant Contact (this also contains the ID of your list and your account and that is why you need to create the new signup form in step 1 as this information is unique to each account!). In my example that info is on Lines 13-17, you need to copy that from your own embed code into the “Hidden Fields” box in your widget.
<input data-id="ca:input" type="hidden" name="ca" value="62cb7e12-ef75-4e40-bda3-e70564c4c4ff">
<input data-id="list:input" type="hidden" name="list" value="1253394236">
<input data-id="source:input" type="hidden" name="source" value="EFD">
<input data-id="required:input" type="hidden" name="required" value="list,email">
<input data-id="url:input" type="hidden" name="url" value="">
Our next step is to copy the “name” of each input for our Email, First Name and Last Name field. This info you can copy from below as I don’t think it is unique (but if you have problems then you will need to double check this info on Lines 18, 19, 20. Put “email” in the “E-mail Field”, put “first_name” in the “First Name Field” and put “last_name” in the “Last Name Field” of you widget.
name="email"
name="first_name"
name="last_name"
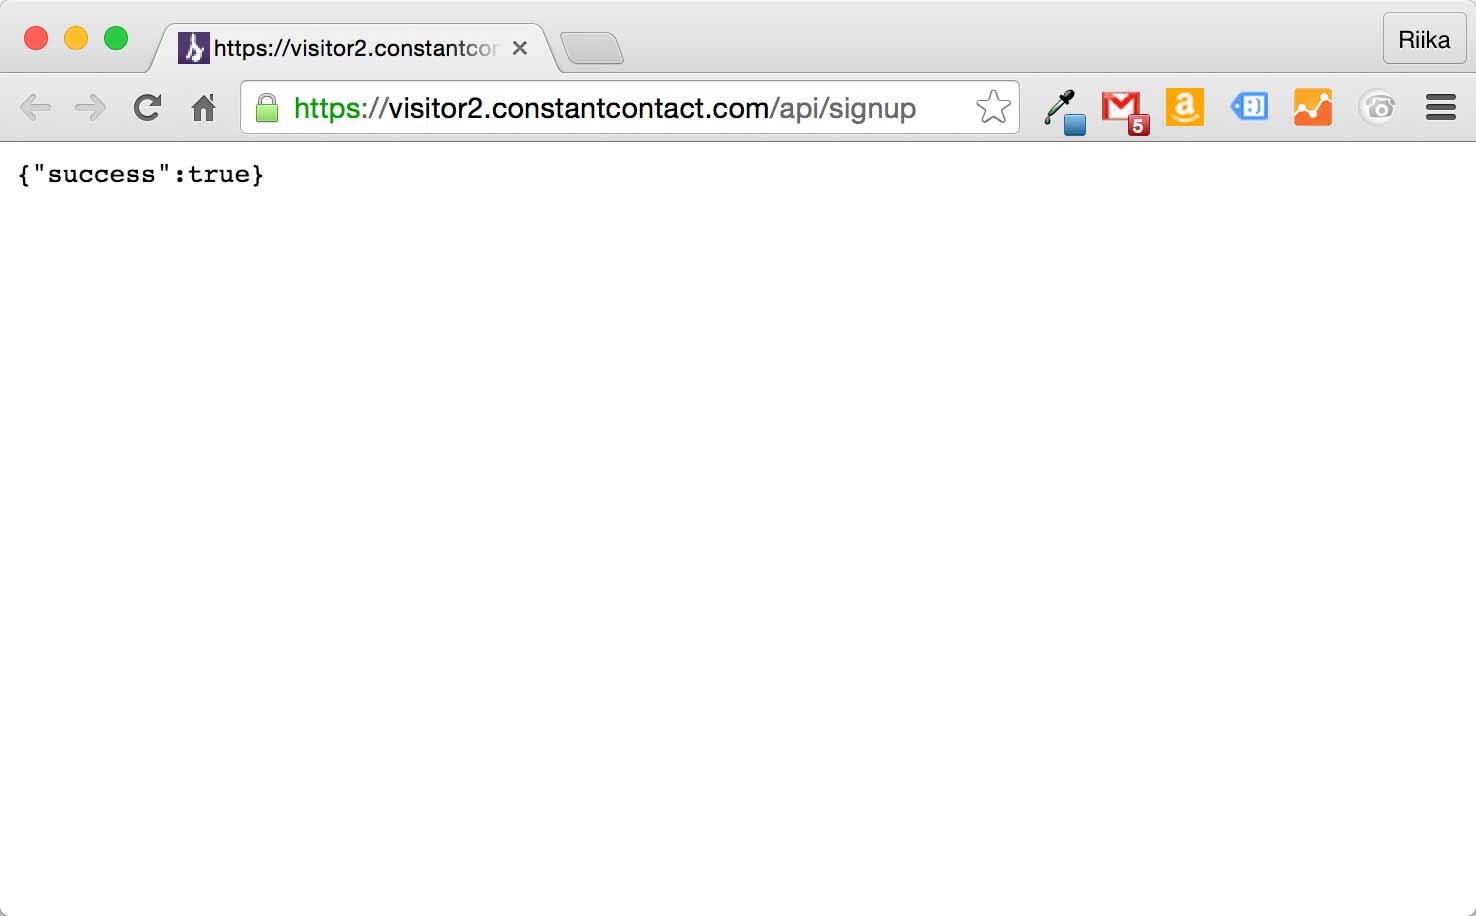
At this point you can use your widget and it should add any new signups directly to the list you indicated. BUT after the visitor submits the form we get an ugly white page on Constant Contact’s website with a “success” message. We don’t want that so we will make a “Thank You” page to send them.
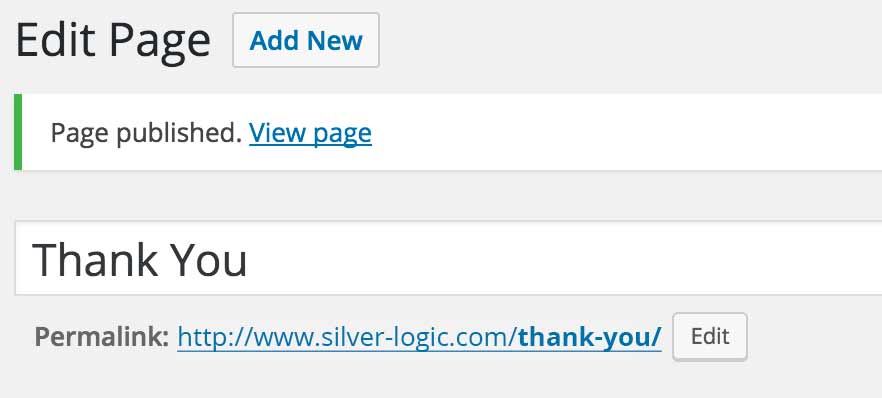
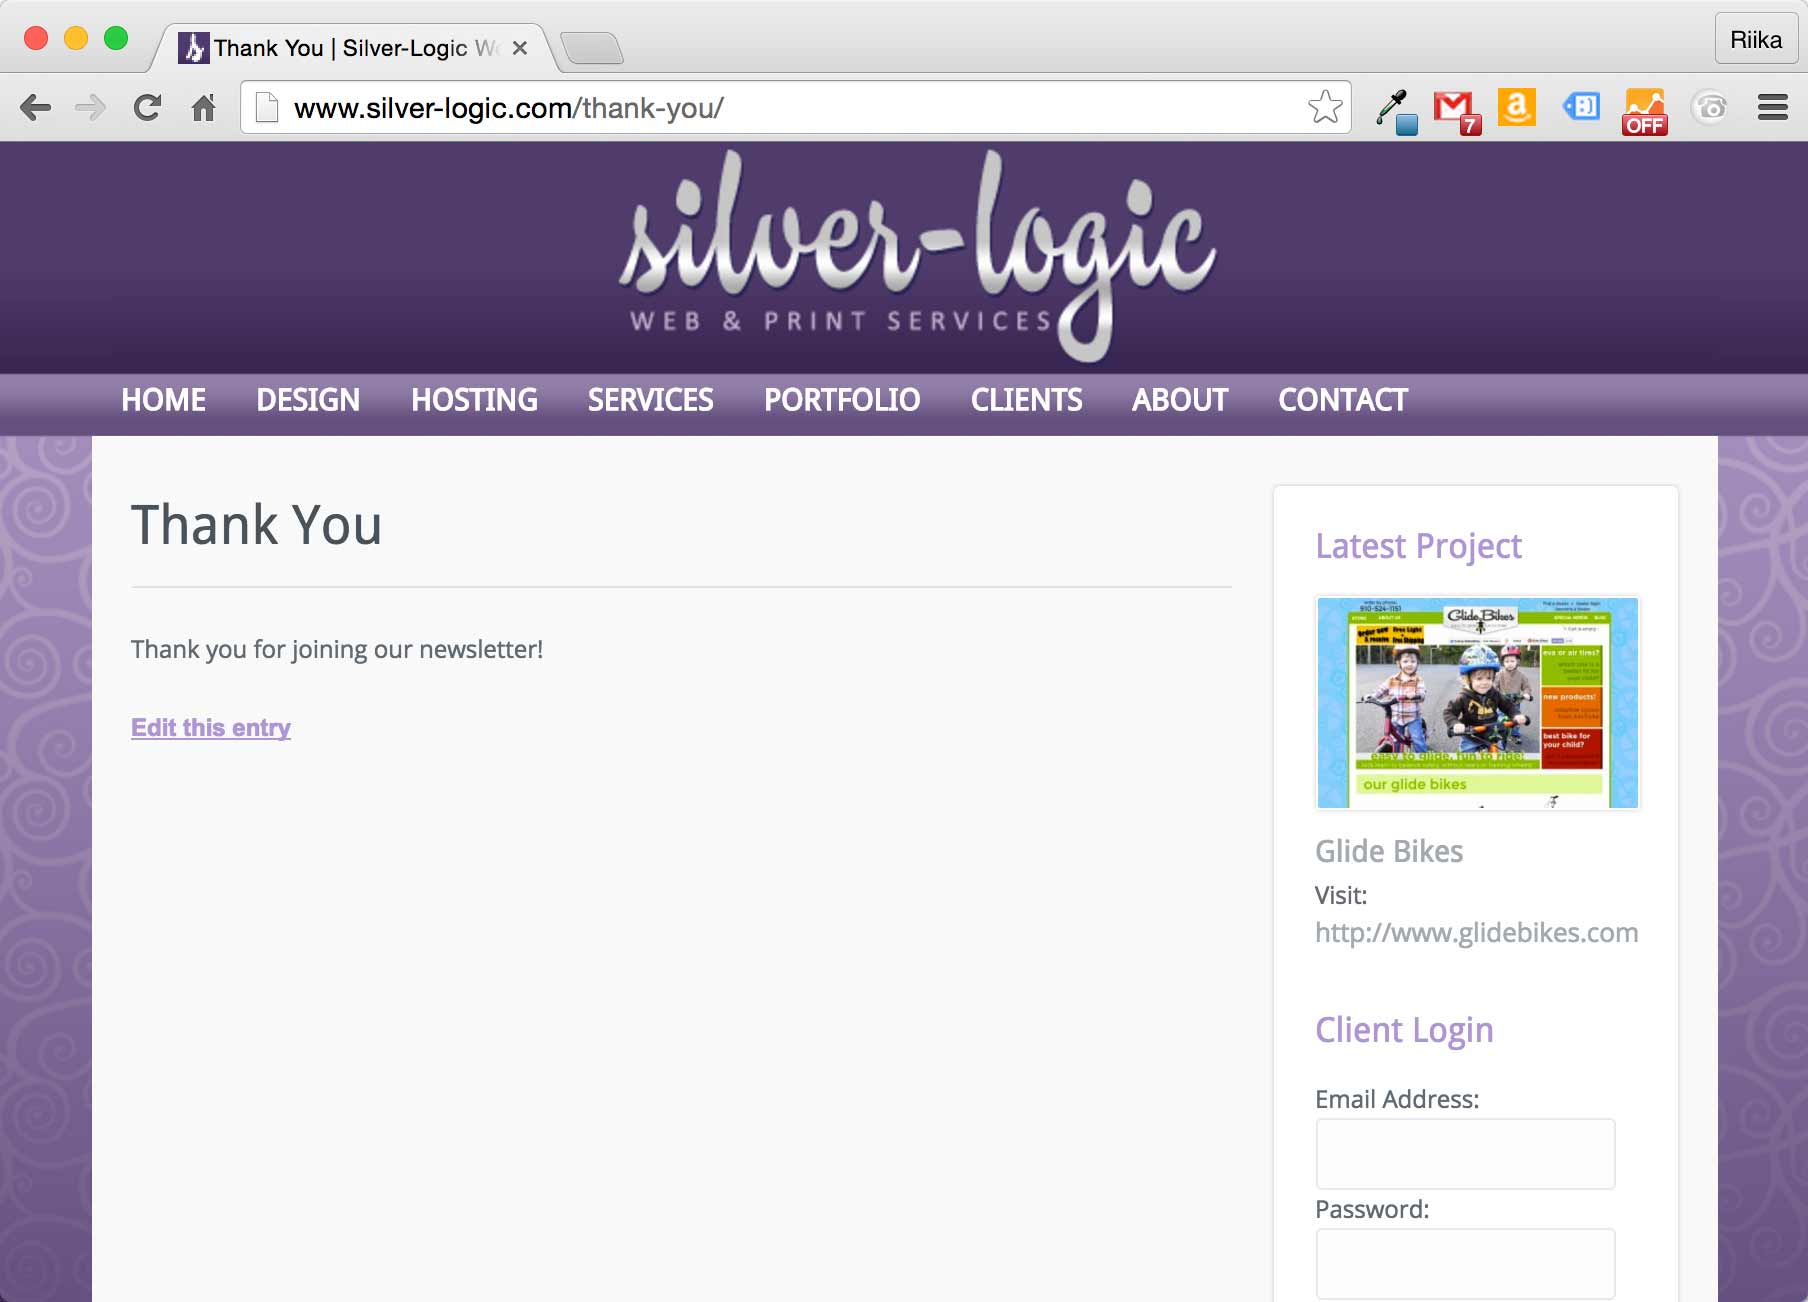
Step 4: Create a custom “Thank You” page for your visitors to be directed to after submission
If you do not already have a “Thank You” page created somewhere in your site you can easily make a new one by going to Pages > Add New. You can call this page whatever you like, the only thing we need is the Permalink URL that is displayed under the title of your page.
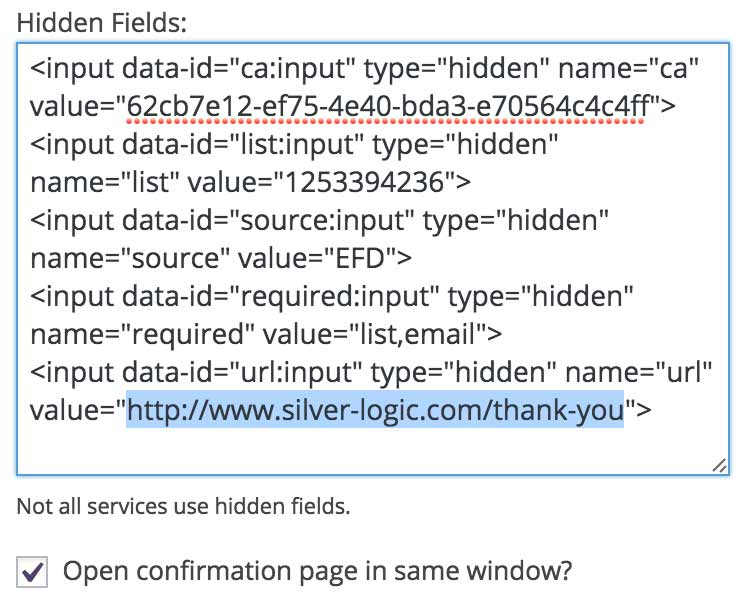
Copy the thank you page permalink and go back to your Genesis eNews Extended widget settings and in the box where we pasted the hidden fields we need to add the permalink to the last input directive, between the two quotes.
By default the widget will open the Thank You page in a new window unless you checkmark the “Open confirmation page in same window?” box. When you do this the visitor will be immediately transferred to the new Thank You page without being any the wiser.
And that is it my friends, everything should be working if you followed all the steps above. Below is a screen shot of the test list I made with my info all collected correctly in Constant Contact (I blurred my email address for security purposes).

This is my first tutorial/walk through and I hope it helps you out! I also want to note I do not use Constant Contact to manage my own mailing lists, I figured this out for a client using their account and I have no idea if there are differences between different levels of accounts all I know is this works on their account. Let me know If you find something I have missed or if something doesn’t work please leave a comment below!
This worked so perfectly! Thank you for sharing.
You’re welcome I’m glad it worked for you!!!
Thank you so much for this article, Riika! I really appreciate you documenting this process. Everything worked perfectly!
You’re welcome Bill!
Awesome! Thanks, this worked so well… now off the style the form. 🙂
You’re welcome Amy!
This was very helpful! Thanks so much for posting it.
Glad it helped you out Dawn!!!
Is there any way we can get this updated? Constant Contact does not provide an embed code any longer.